
If you’ve searched for Freepik AI, you probably already have a clear intention. You want to create images or videos fast, maybe for social media, marketing, or design work. You also know Freepik is powerful, but once you open it, things get less obvious.
Where do you start? Do you need prompts like Midjourney? Why does generation feel inconsistent sometimes? And most importantly, why does the cost increase faster than expected? This is where most users quietly get stuck. They don’t doubt Freepik’s capabilities. They doubt the workflow. And that gap between a powerful platform and a usable tool is exactly what this review is about.
What is Freepik AI Actually Used For?
Freepik is not just an AI generator. It is a hybrid creative platform combining: AI image generation, AI video generation, AI audio tools, Stock asset library (millions of files), and Multi-model integration (Runway, Kling, Veo, etc.).
In theory, it’s designed as an all-in-one creative suite. In practice, it works more like a layered system where different tools live under one roof. That flexibility is also where complexity begins.
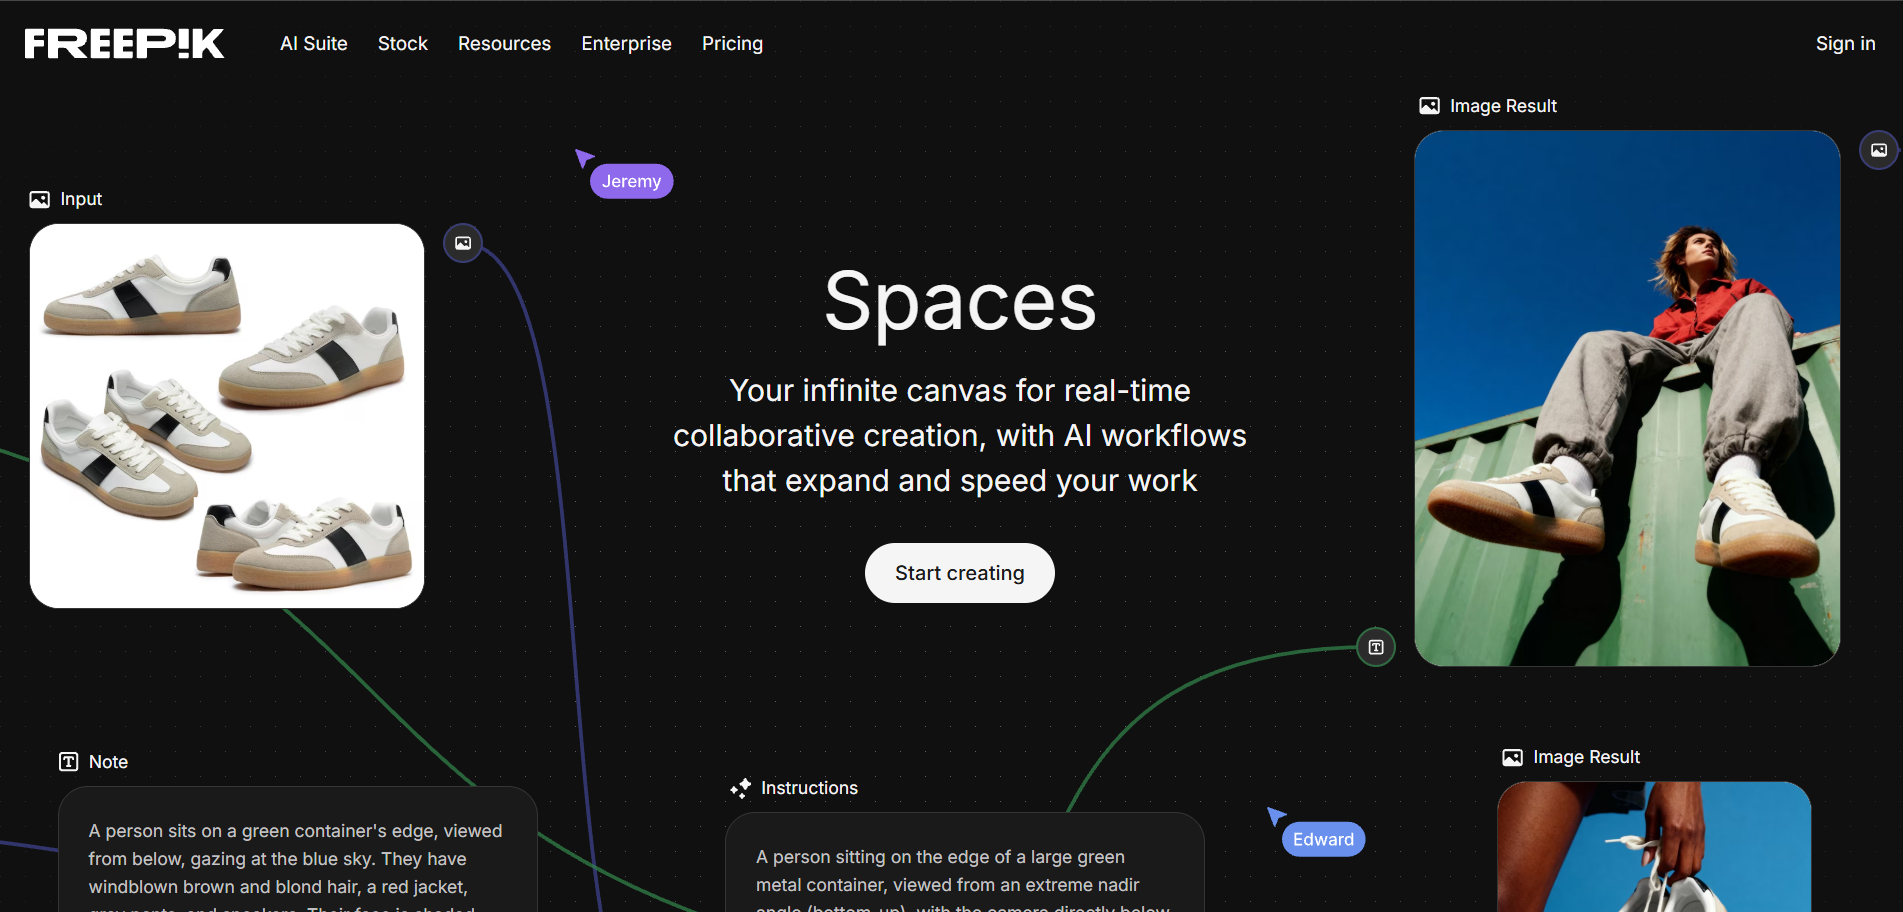
How Freepik AI Works
Unlike simple AI apps, Freepik is not one click creation by default.
Step 1: Choose a creation tool
You start with AI Image Generator, AI Video Generator, or Freepik Spaces (workflow templates). Each one behaves differently.
Step 2: Input prompt or select assets
Most AI tools rely on structured prompts like style description, lighting terms, and composition instructions.
This is where beginners often struggle. Small changes in wording can lead to completely different outputs.
Step 3: Generate and refine
Rarely do users stop at one result. Typical workflow looks like: generate, evaluate, adjust prompt, regenerate. This loop repeats multiple times.
Step 4: Edit, upscale, or combine assets
After generation, users often need:
- upscaling
- background cleanup
- variation selection
- combining stock + AI output
Step 5: Export for use
Final outputs are used for: social media content, advertising creatives, design production, and video editing workflows. This makes Freepik closer to a production system than a simple generator.
The Honest Reality: What Users Actually Experience
Freepik is widely respected in the creative industry.
“The only creative suite you need.AI tools, smart features, and high quality stock assets to design and create without ever leaving Freepik. With over 100 million users and a massive 250M+ asset library, it has positioned itself as a full AI integrated content creation platform.”
That positioning is accurate. But user experience reveals a more nuanced picture. Across real usage feedback, several issues consistently appear:
1. Repetitive AI outputs
Many users report that results can feel visually similar across generations, especially in certain categories like technology or lifestyle imagery.
2. Search precision limitations
Finding highly specific visuals can require multiple refinements.
3. Cost increases with iteration
Even with subscription plans, frequent regeneration quickly increases usage pressure.
4. Pricing structure frustration
Plan limitations and credit systems can feel restrictive during active projects.In short, Freepik works well until you start producing at scale.
Freepik Pricing Explained (2026)
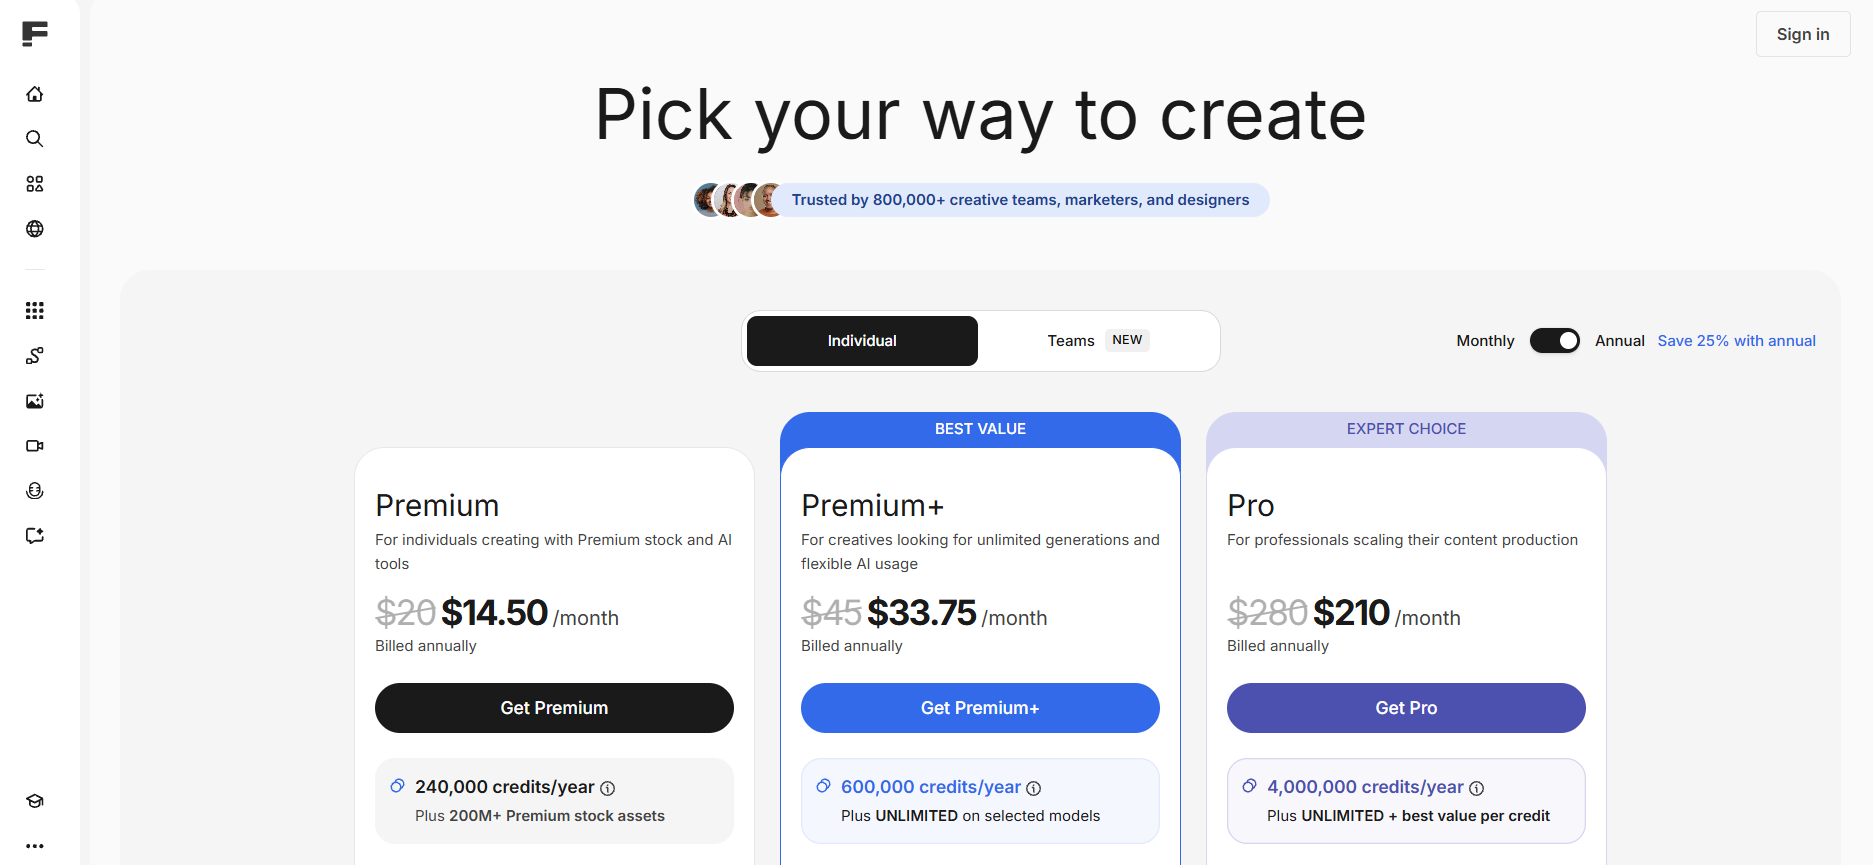
Individual Premium: $14.50/month, Premium+: $33.75/month, Pro: $210/month.
At first glance, pricing seems reasonable for an enterprise-grade tool. But real usage introduces hidden scaling costs: multiple generations per image, retries for consistency, and plan based limitations on usage. For creators who iterate heavily, cost becomes less predictable over time.
Freepik vs Vimi: A More Practical Comparison
While Freepik is a full creative ecosystem, Vimi takes a completely different approach.
Freepik (Creative Suite Model)
- AI + stock + editing tools combined
- Strong enterprise ecosystem
- Flexible but complex workflow
- Credit-based usage
- Best for structured design production
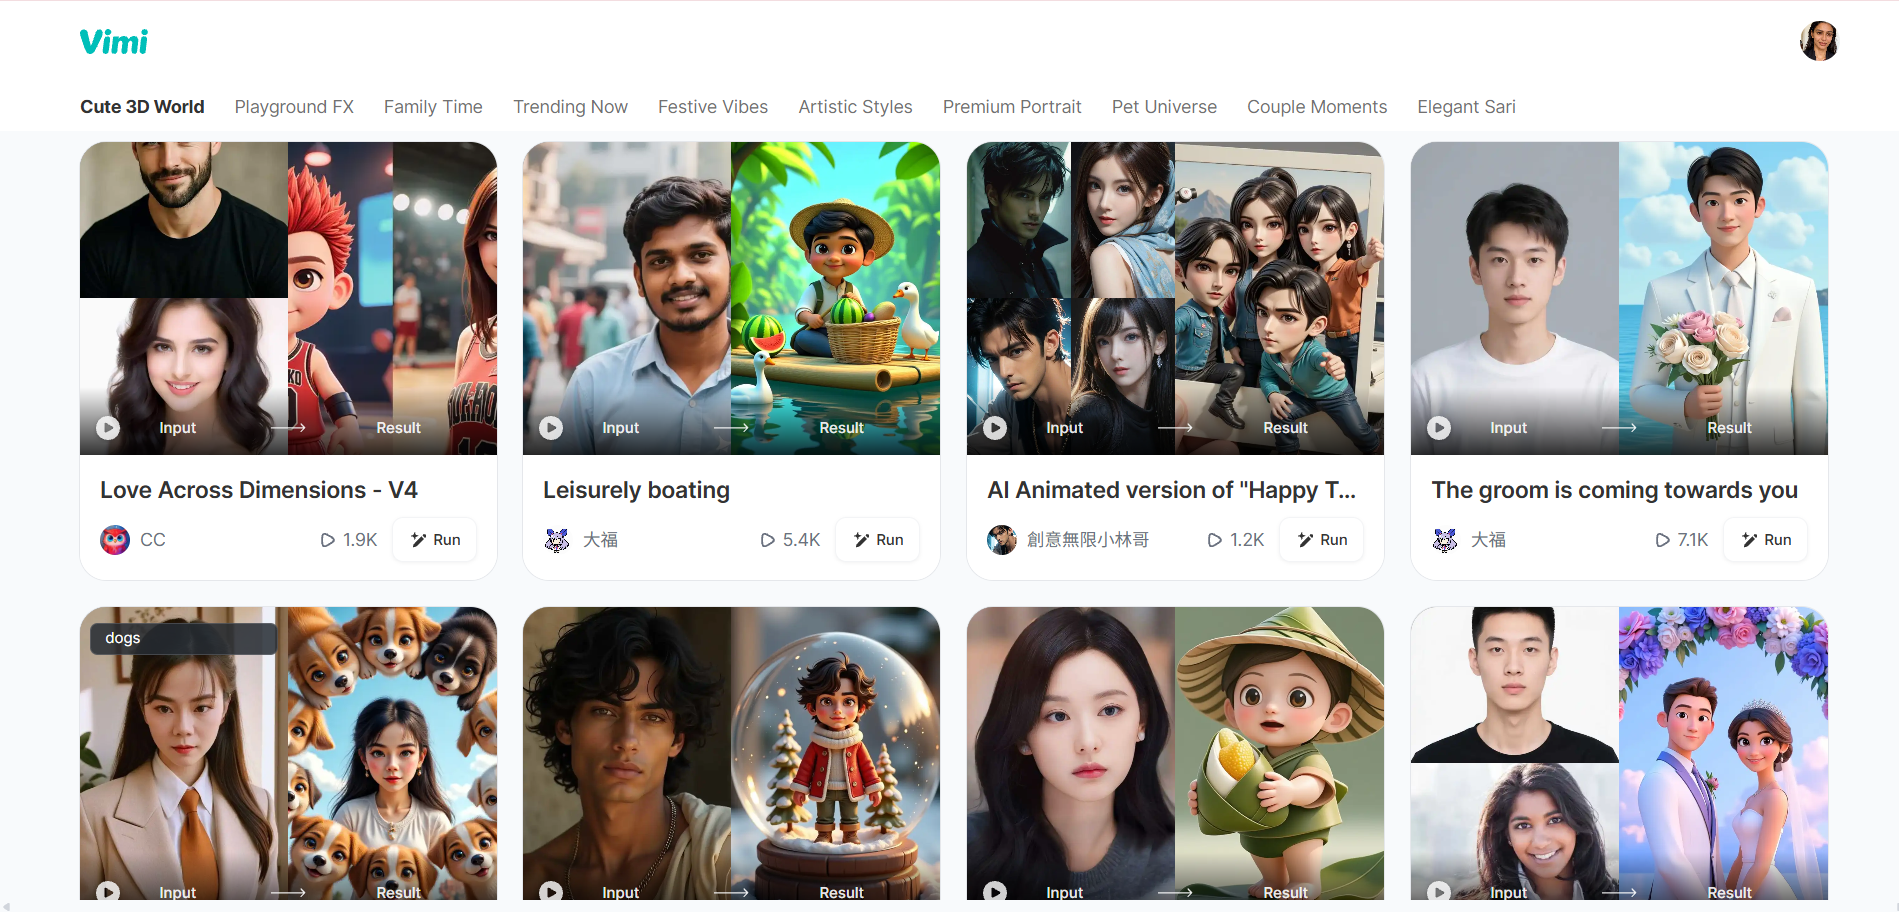
Vimi (AI Generation Model)
- Built purely for AI creation
- Unlimited generation model
- Template-based workflow (no prompt engineering)
- Mobile-first simplicity
- Designed for fast content output
- Choose a style
- Upload image or text
- Generate instantly
- TikTok content
- Instagram visuals
- batch image creation
- short video production
- cinematic visuals
- anime styles
- 3D clay effects
- cyberpunk
- watercolor and oil painting
- Ghibli-inspired animation styles
- 3D avatar generation
- cinematic portrait
- anime transformation
- AI video effects
- one image
- multiple images
- or text prompt
- Download results
- Publish to personal profile
- Reuse templates from community content
Why Many Creators Switch to Vimi
The difference becomes clear in real usage.
1. No credit anxiety
Vimi removes the biggest friction point in AI creation: You don’t track generations. And you just create.
2. Template-first workflow
Instead of writing prompts, you:
Templates define everything.
3. Built for speed and volume
Vimi is optimized for:
4. Strong style diversity out of the box
Includes:
How to Use Vimi (Step-by-Step)
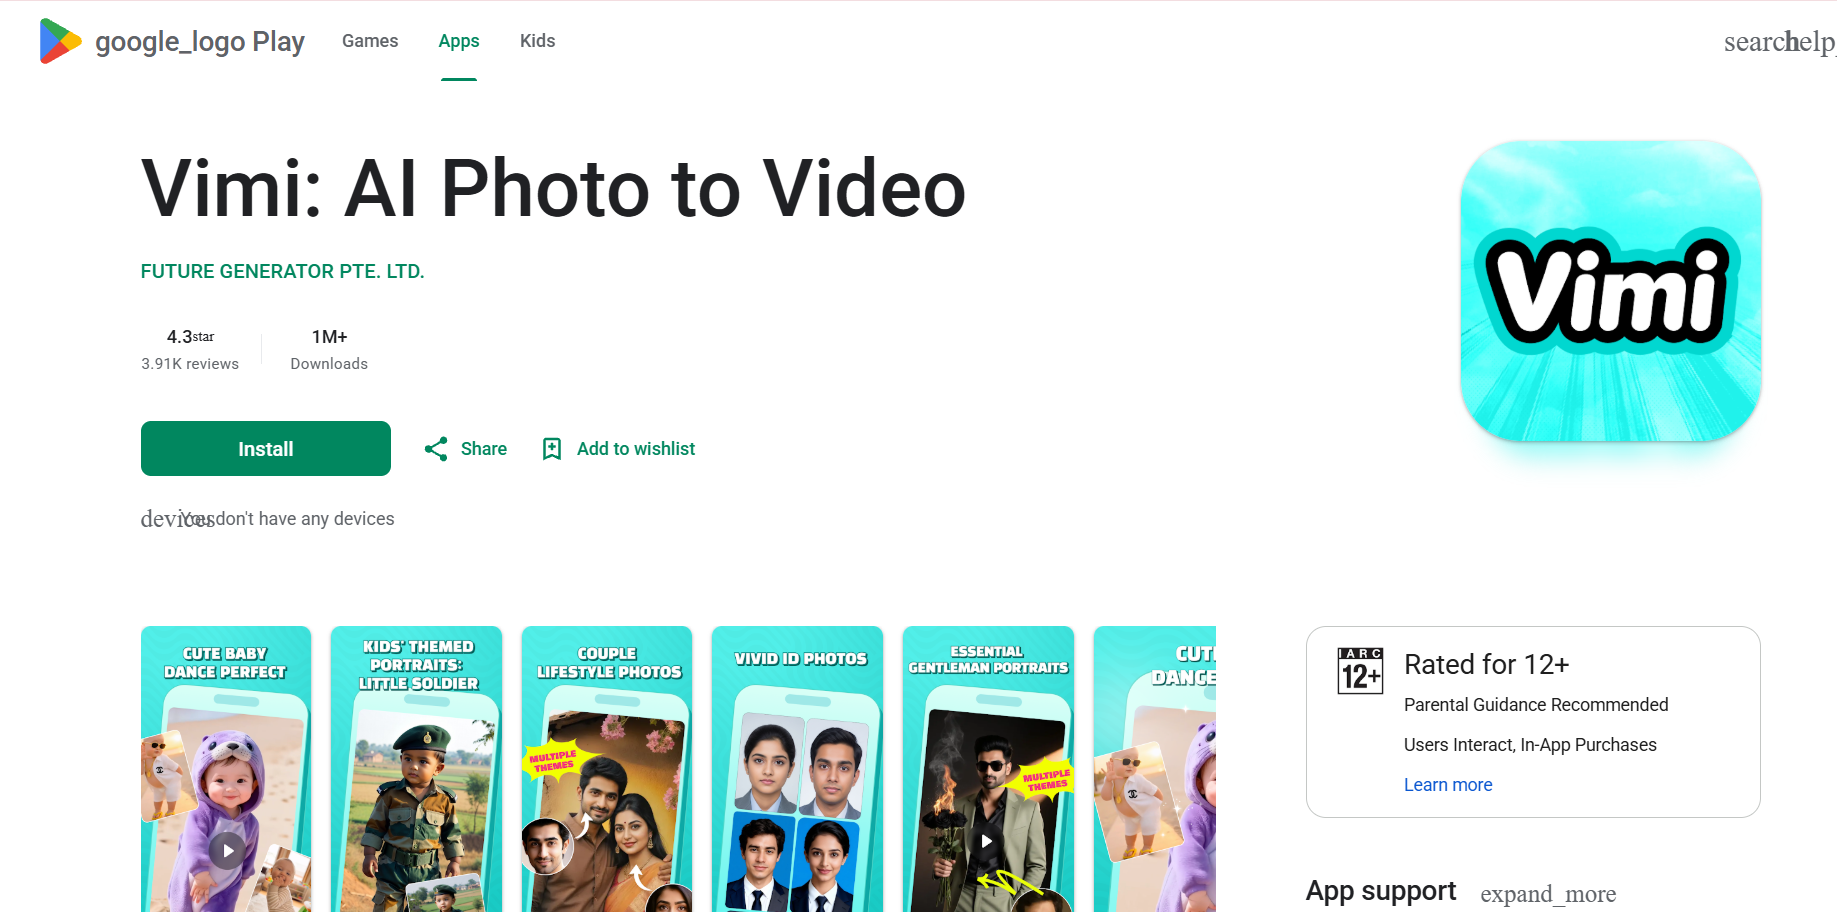
Step 1: Open the app
Users typically discover Vimi via search, then download the mobile app.
Step 2: Select a template
Everything starts with templates like:
Each template is pre-configured.
Step 3: Upload content
Depending on the template:
No advanced prompt writing required.
Step 4: Generate results
Processing usually takes 10–20 seconds.
Step 5: Publish or reuse
Users can:
If you feel Freepik is powerful but too complex, too expensive over time, or too slow for content iteration, it may be worth exploring a simpler approach.
Final Verdict: Is Freepik Worth It in 2026?
Freepik remains a strong platform. If you are a designer or working on complex creative projects, or need stock and AI integration. It is still a solid choice. But if your goal is fast content creation and unlimited experimentation, then the workflow may feel heavier than necessary. For creators focused on speed, volume, and ease of use, Vimi offers a more direct AI creation experience with unlimited generation and template based workflows.